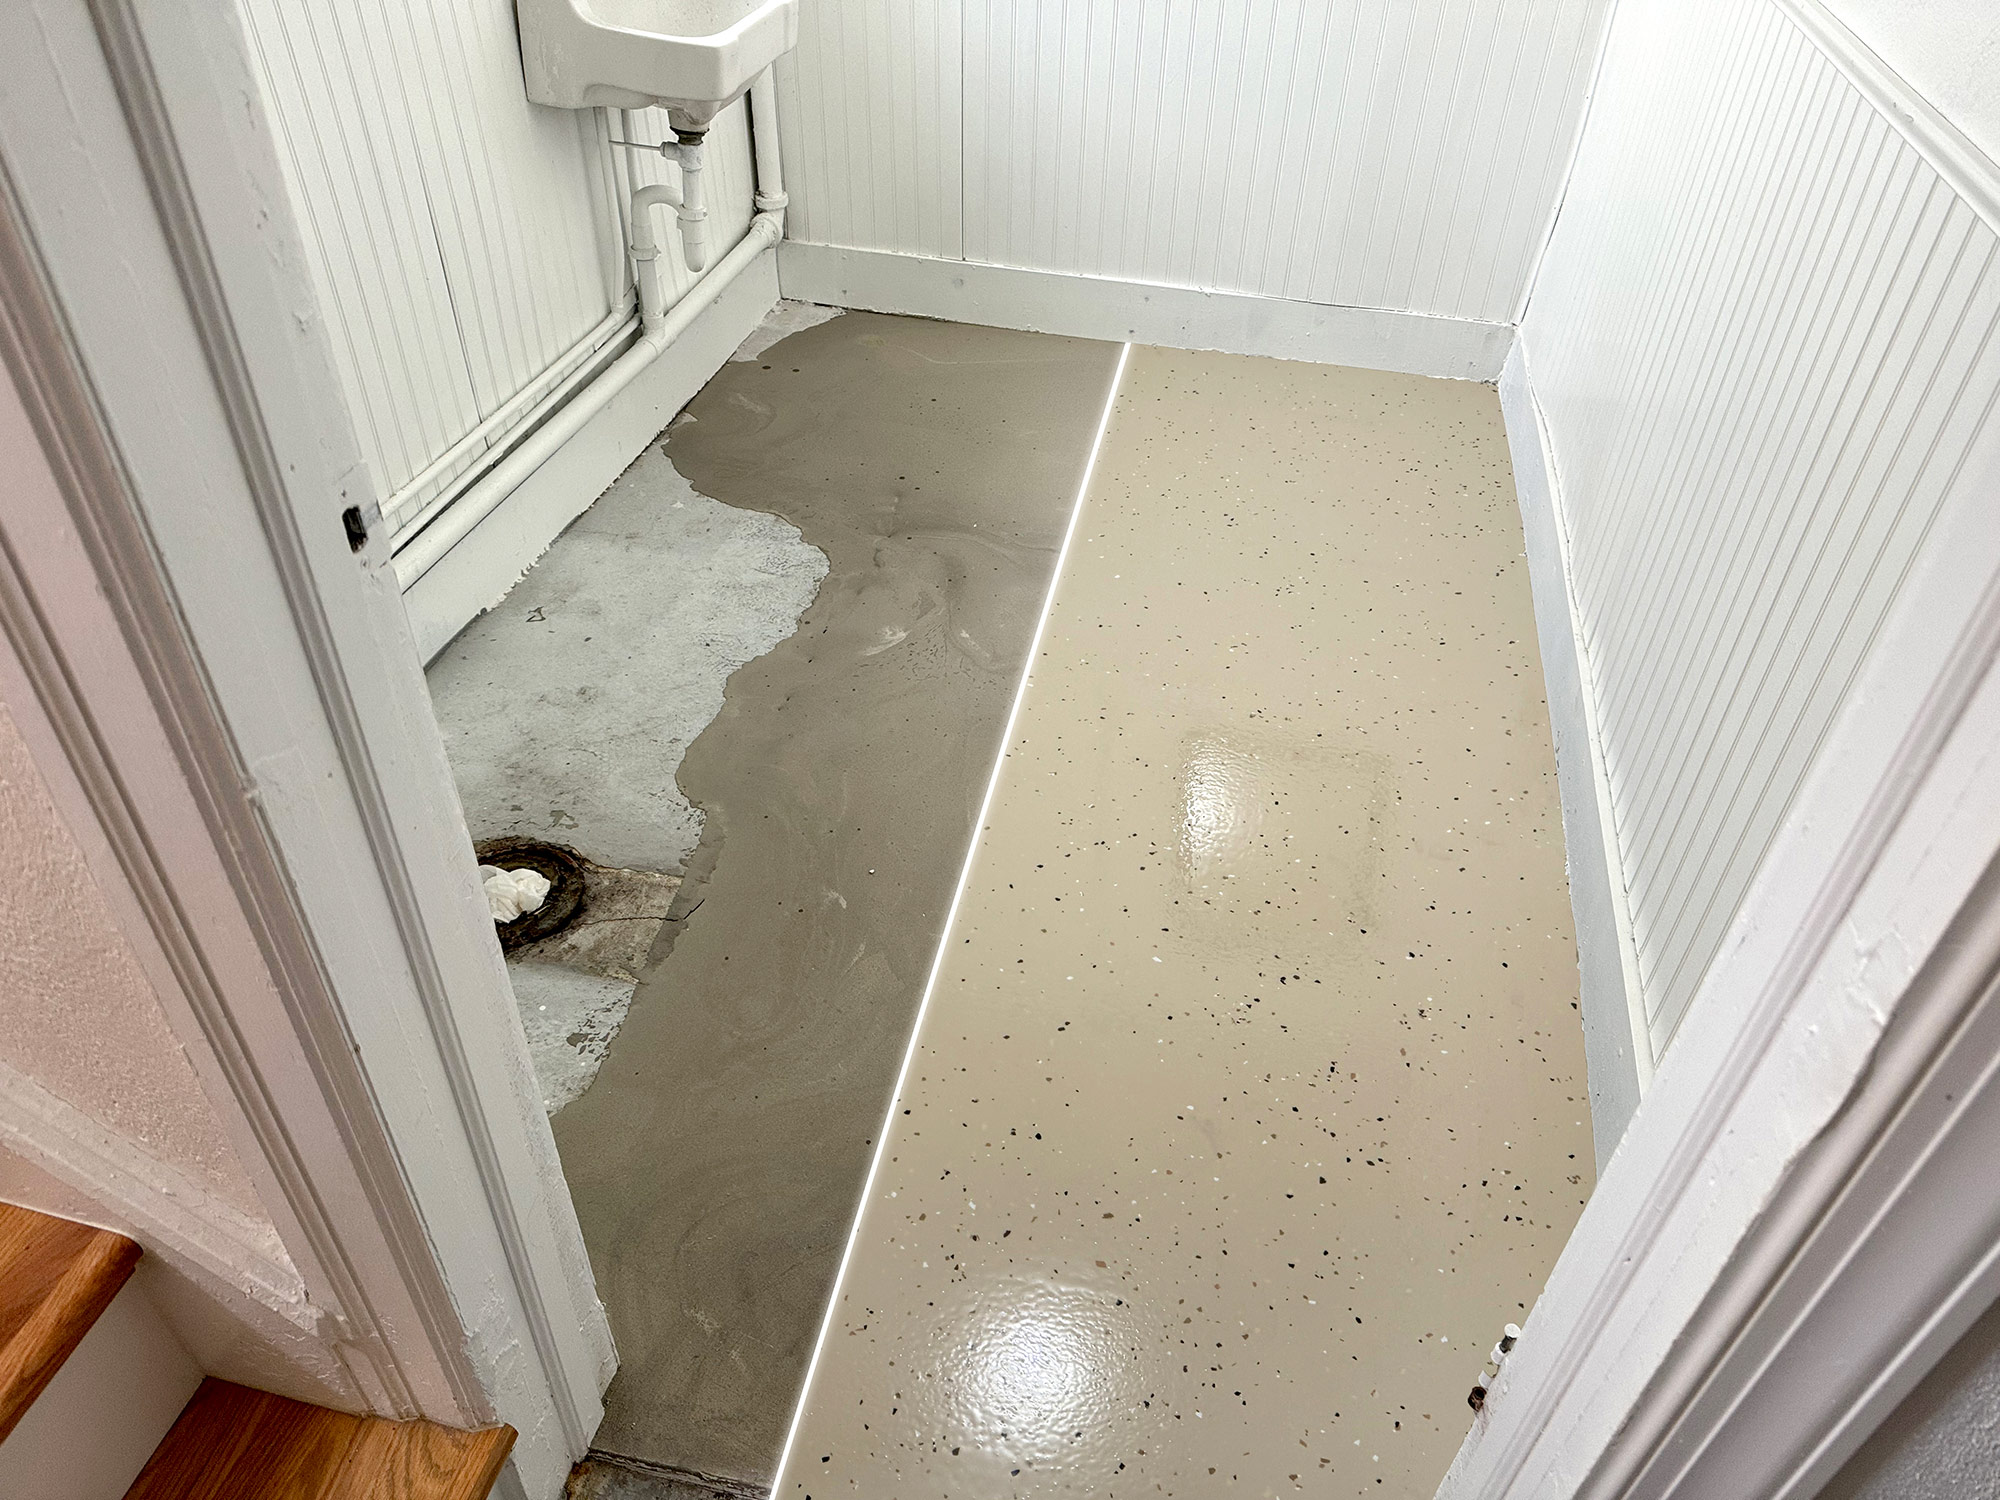
Basements often start as blank canvases in our homes – spaces filled with potential, waiting to be improved. Often, they end up last on our list of home improvement projects, becoming damp and forgotten spaces. In Ventnor, this issue is even more common. The humid climate makes basements less ideal for storage and as a living space. Over time, the floors can suffer the most. They can get stained, cracked, and look bad, which is far from what this customer wanted, which is a cozy, useful space.
This is where epoxy flooring can make a big difference. Unlike other flooring options that struggle with moisture and wear, epoxy floors offer a resilient, waterproof, and visually appealing solution. Epoxy flooring will not only improve the look and feel of your basement but will also enhance its utility, turning it into a space you can enjoy and utilize more.
Standing Up to Moisture and Use
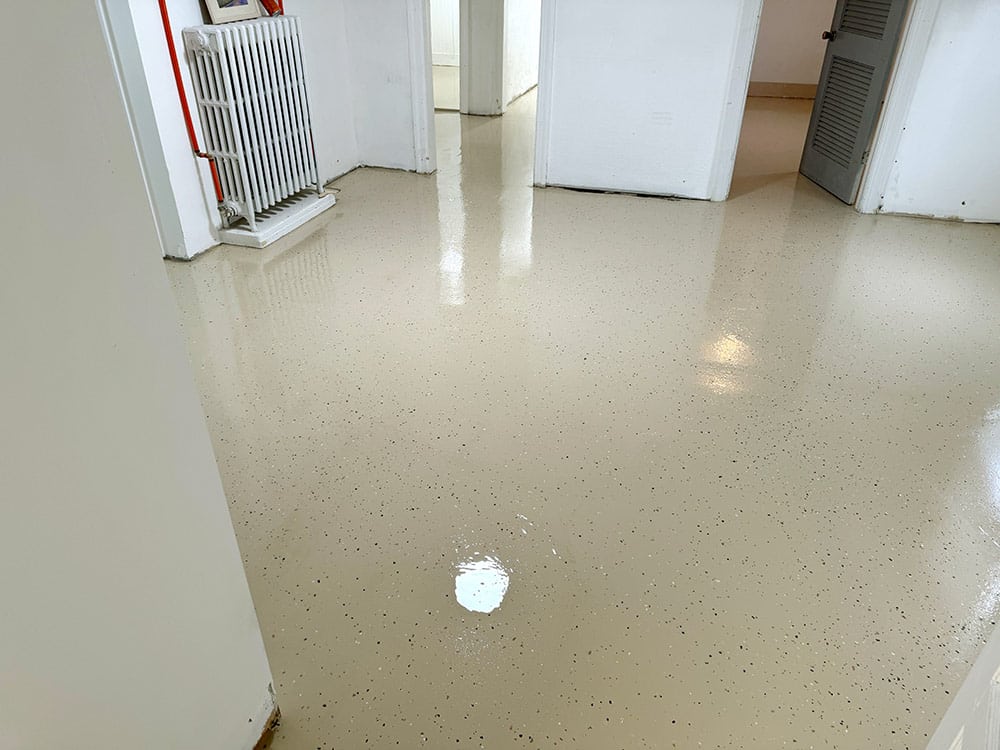
This recent customer in Ventnor needed a better basement floor. Their basement was always damp, and the floor was wearing out from heavy use. The customer discovered the benefits of having epoxy flooring and wanted his floors coated with solid epoxy. This is where we came in to install floors that are durable, handle moisture well, and stay looking good under different conditions.
Our Approach to Solid Epoxy Flooring
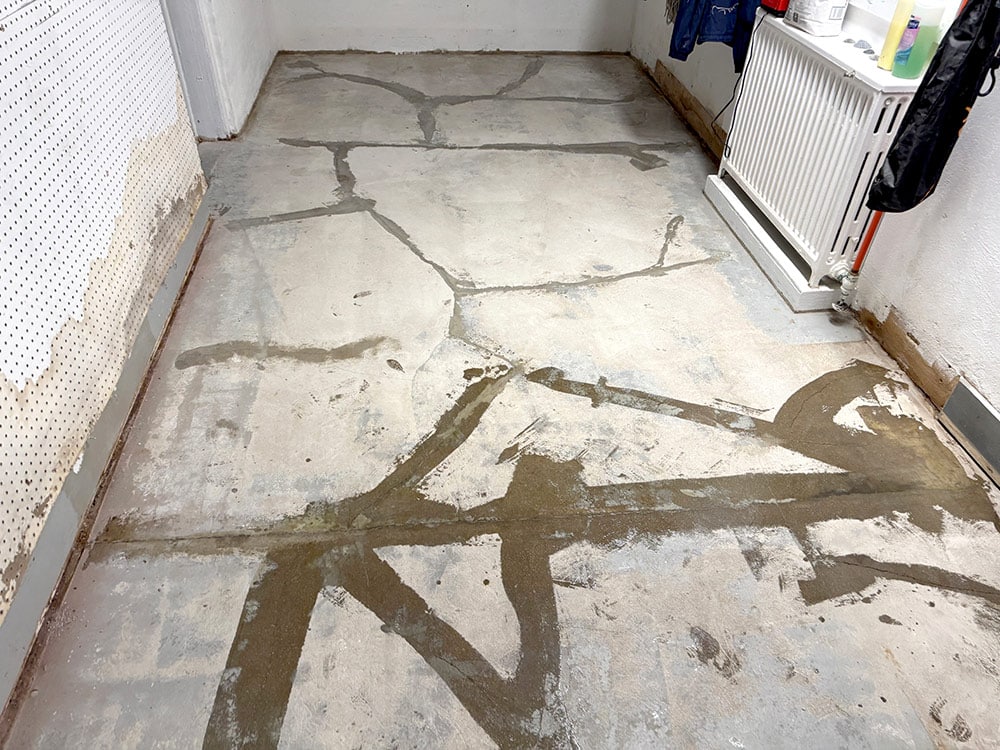
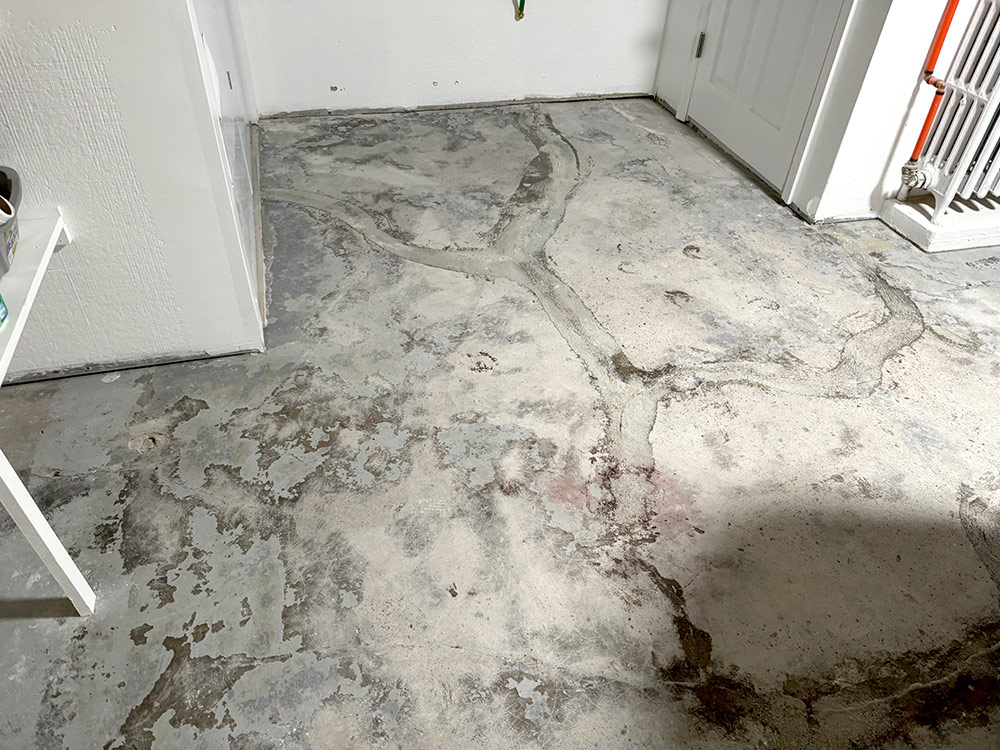
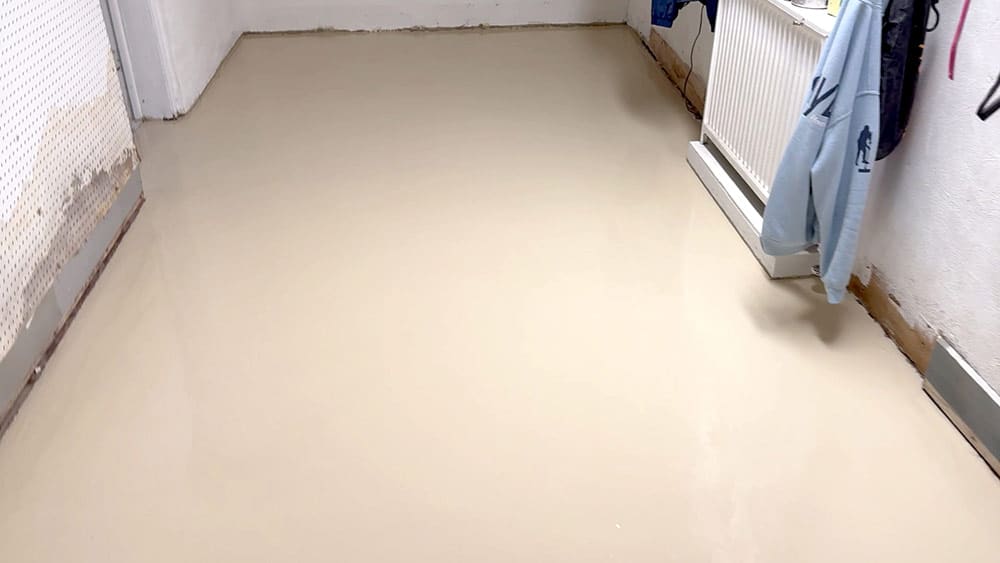
Our process starts with a focus on getting the space ready. This means carefully measuring the area and thoroughly assessing the condition of the concrete. For this project, the flooring required a lot of repairs as it was full of cracks and divots. We make sure to smooth out imperfections to ensure a flawless foundation for the epoxy. This is crucial for a successful application.
Day 1 – Foundation and Base Coat:
Cleaning: We start with a deep clean to remove any dirt, oil, or existing coatings. A clean surface is essential for ensuring the epoxy adheres properly.
Prepping the Surface: Using a specialized grinder, we roughen the concrete surface. This mechanical preparation is key to creating a strong bond between the concrete and the epoxy.
Addressing Moisture: Depending on initial assessments, we apply a vapor barrier or primer. This step is vital for preventing moisture-related issues, ensuring the epoxy layer remains intact and bubble-free.
Applying the Epoxy:
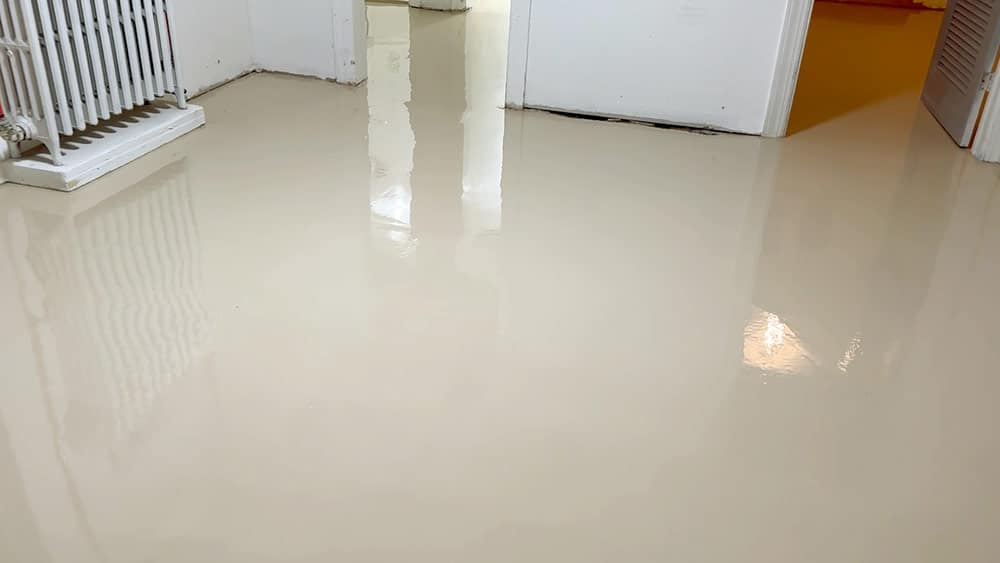
Base Coat Application: Mixing the epoxy with color and hardener is next. We apply this mixture evenly across the floor, setting the stage for a durable and visually appealing finish.
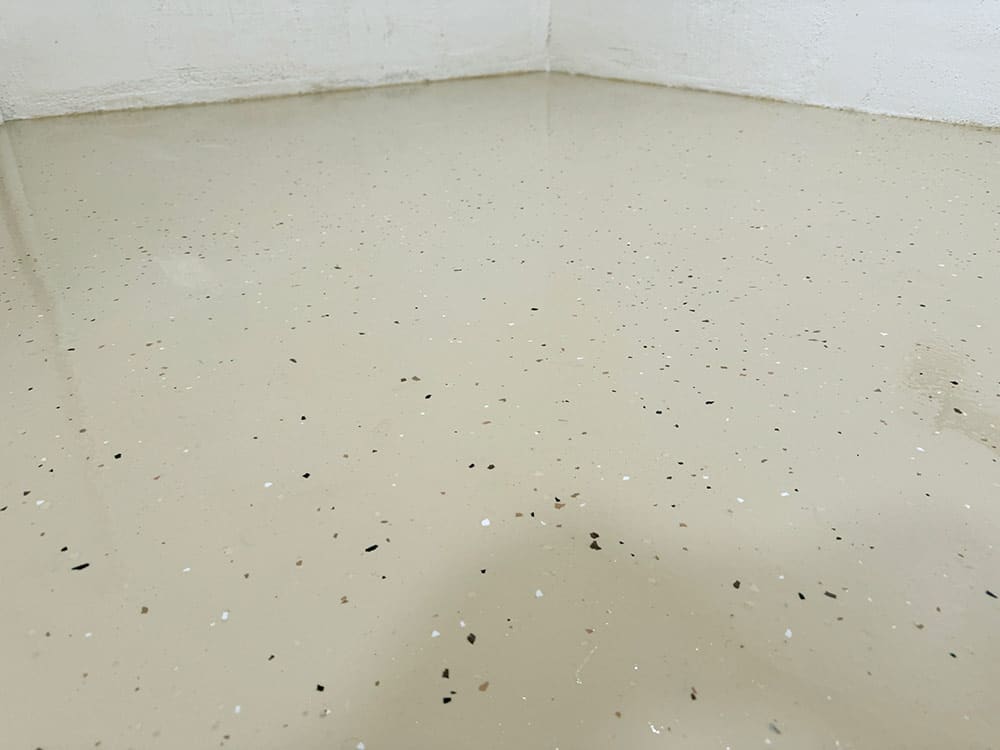
Flakes Addition: Immediately after laying the base coat, we delicately sprinkle the “Shoreline” flakes. This not only introduces a distinctive look but also adds texture and depth to the flooring, capturing the essence of the coastal environment.
Day 2 – Sealing and Protection:
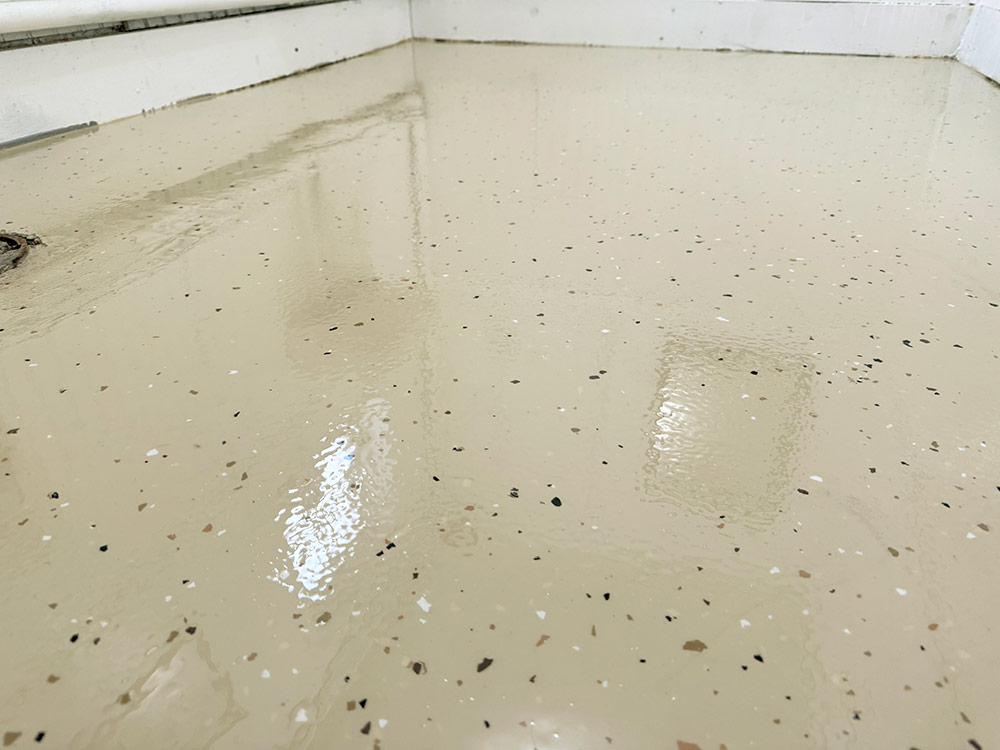
Curing Time: After application, we allow ample time for the epoxy to cure, creating a solid and durable surface. If necessary, we smooth any irregularities to ensure an even finish.
Final Touches: The application of a clear polyaspartic sealer is the final step. This sealer reinforces the floor’s durability, offers UV protection, and ensures the embedded “Shoreline” flakes are locked in place, contributing to the floor’s aesthetic and functional longevity.
Upgrade Your Basement
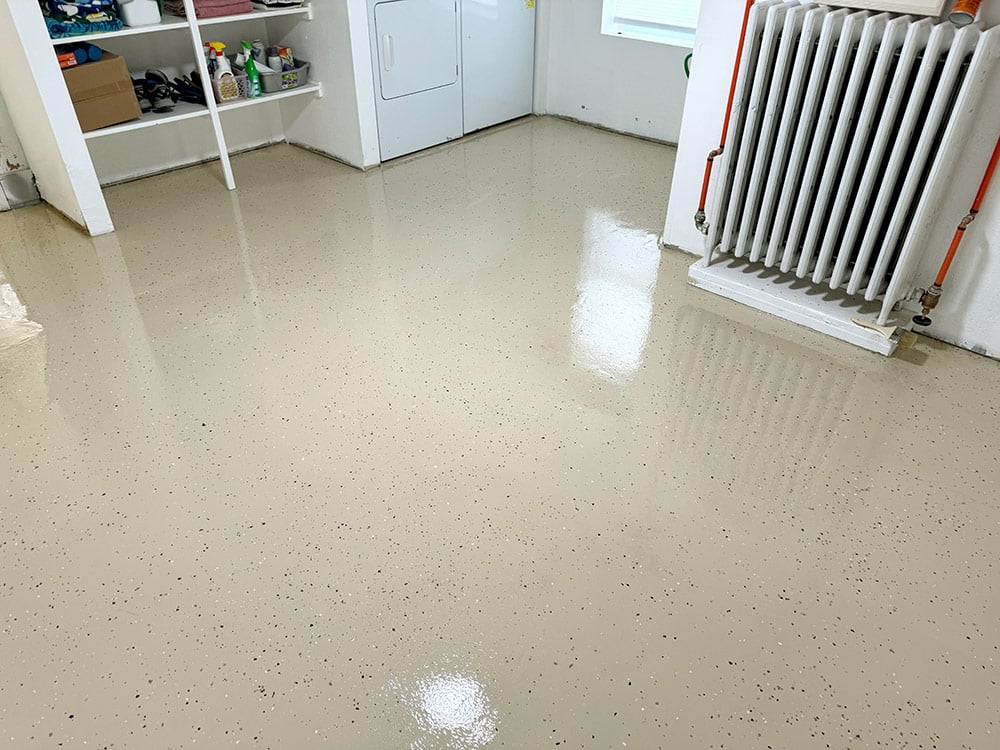
This project shows how solid epoxy can improve the look and durability of a basement. If your basement has floor stains, cracks, or wear, consider giving it a fresh start. Swayd Epoxy Floors can help install durable, beautiful floors perfect for any use. Let’s talk about improving your space, contact us today.