The Swayd Process for Applying Epoxy
Epoxy flooring is a popular choice for both residential and commercial spaces due to its durability, low maintenance, and sleek appearance. While every type of finish is uniquely different, the process for all of our applications is similar.


The process typically looks like this:
- Project Review & Estimate: We will come out to your location to review the surface, which includes measuring the dimensions, determining the hardness level and getting a read on the moisture levels. We will also look for any imperfections that will need to be addressed in the early stages of the project. We will also present you with the various finish options you have and give you a chance to watch your project come to life with our visualizer tool.
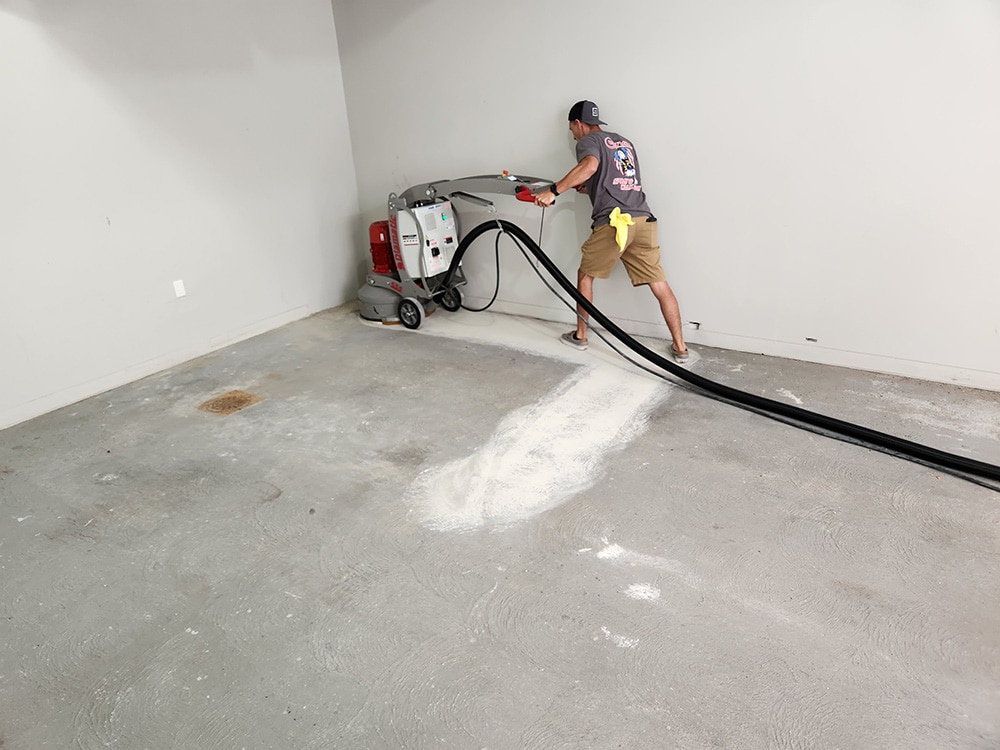
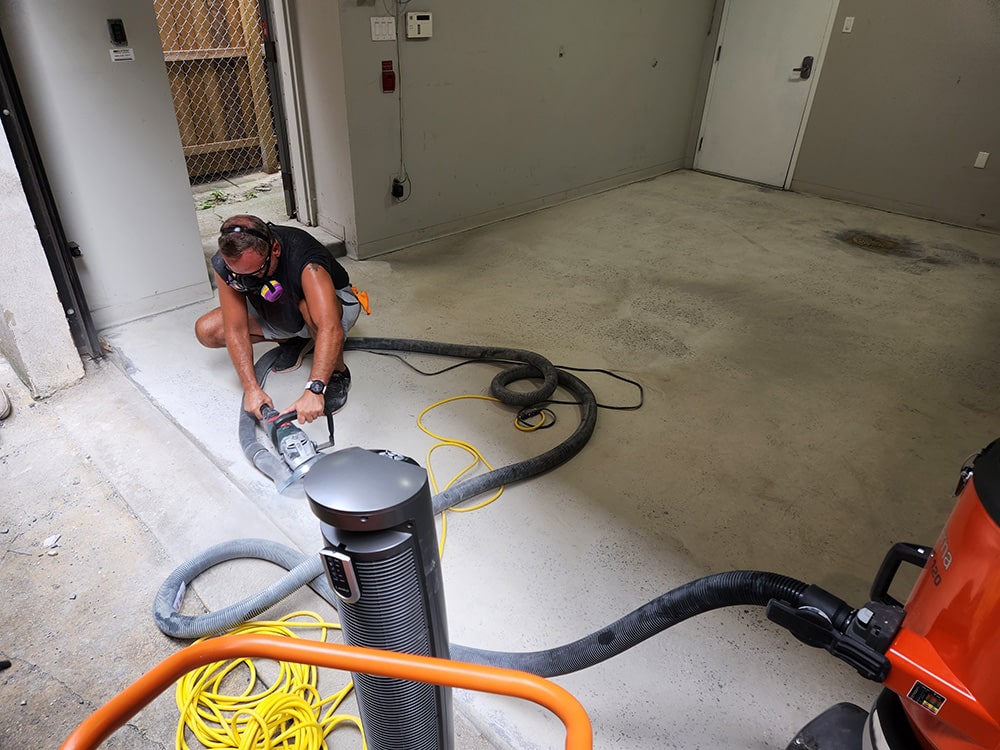
- Surface Preparation: We clean the surface thoroughly to remove dirt, oil and debris. We repair any cracks or imperfections on the surface using a suitable concrete patching material. If needed we use a diamond grinder to mechanically profile the surface, ensuring proper adhesion of the epoxy.
- Primer Application: If necessary, based on the moisture level readings, we apply a moisture vapor barrier or concrete primer to the surface to enhance adhesion and prevent air bubbles from forming in the epoxy.
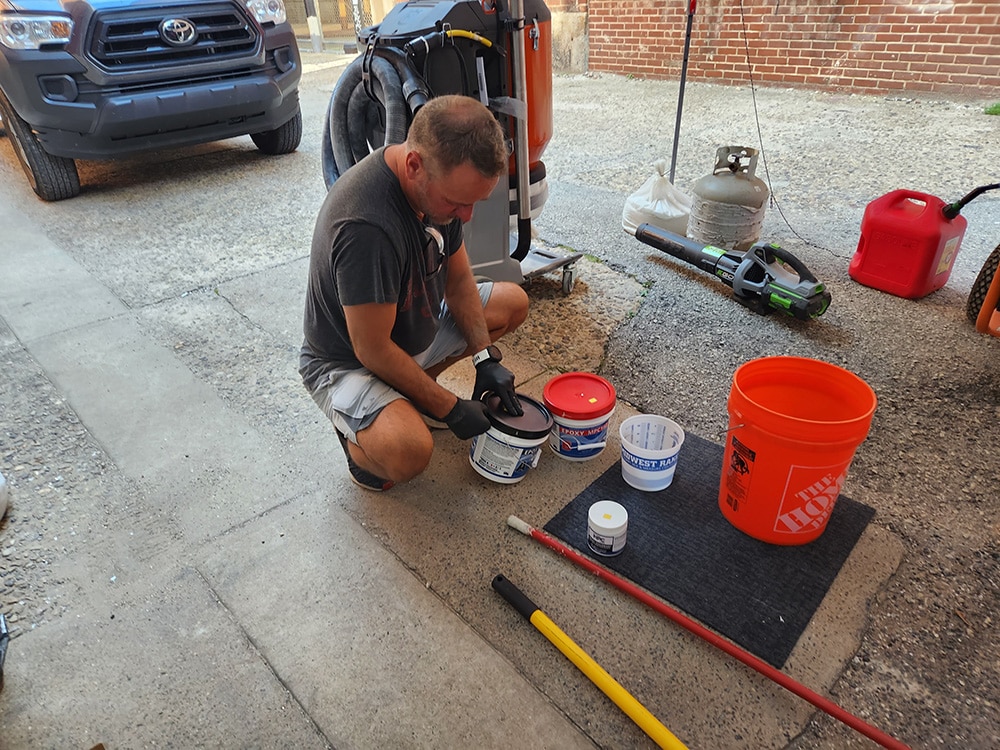
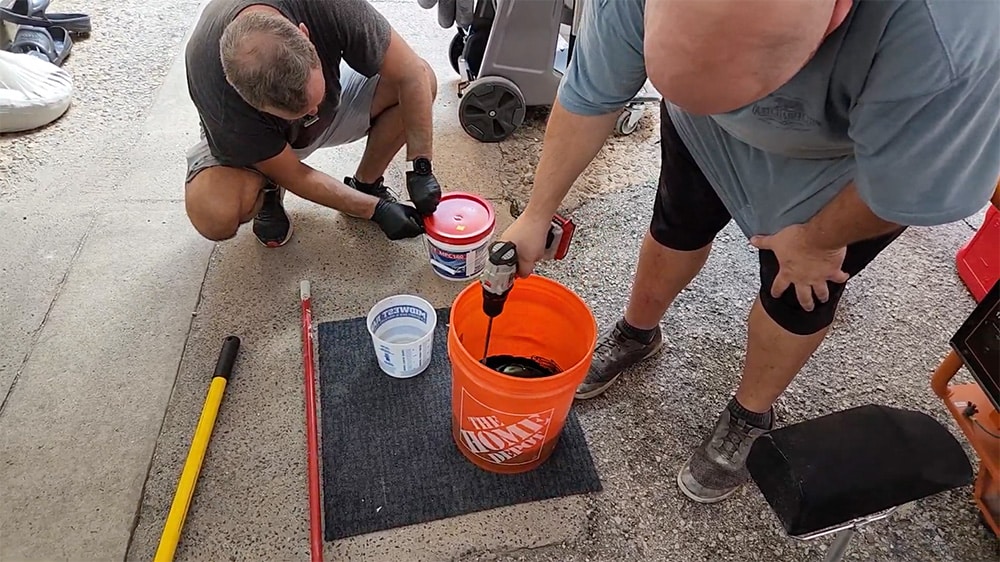
- Epoxy Coat: We mix the epoxy resin with the desired color pigment and then add hardener according to the manufacturer’s instructions. Once the primer is cured, the epoxy base coat is applied. We use a squeegee followed by a roller, spreading it evenly over the surface.
- Decorative Elements (Optional): If you desire a decorative epoxy floor with flakes, metallic pigments, or other designs, this is the time to add them. These elements are broadcast onto the wet base coat.
- Curing Time: Epoxy floors require adequate curing time to ensure they are strong and durable. The curing time depends on environmental conditions and epoxy type.
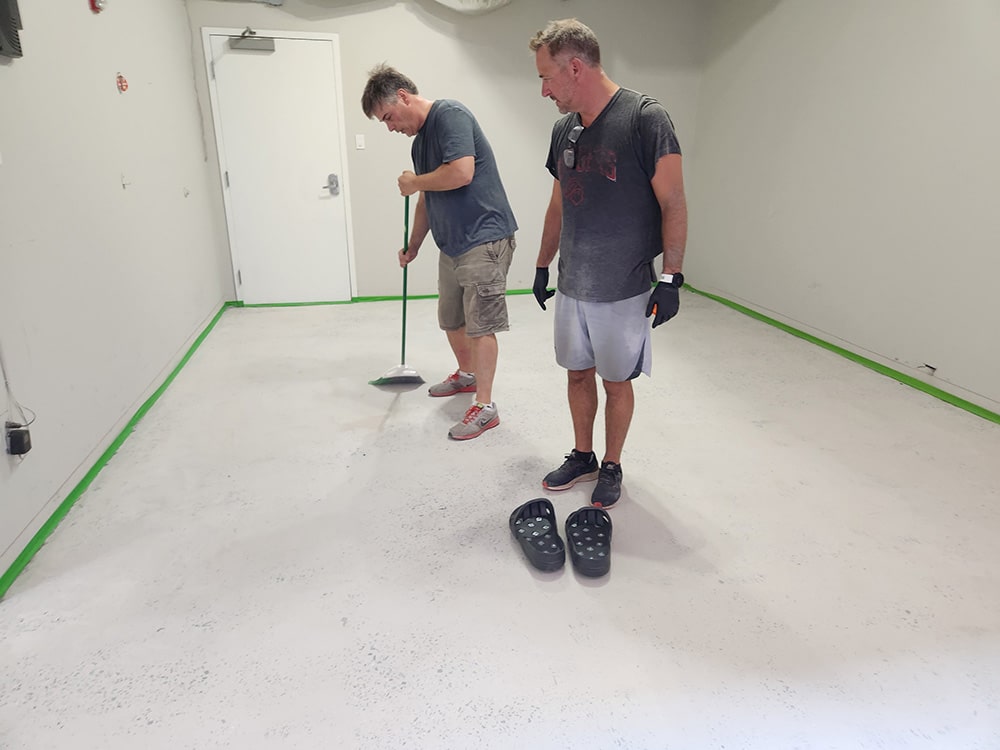
- Quality Inspection: A thorough inspection is conducted to check for any imperfections, bubbles, or inconsistencies in the epoxy surface. We repair any outgas bubbles or other imperfections using a floor scraper machine.
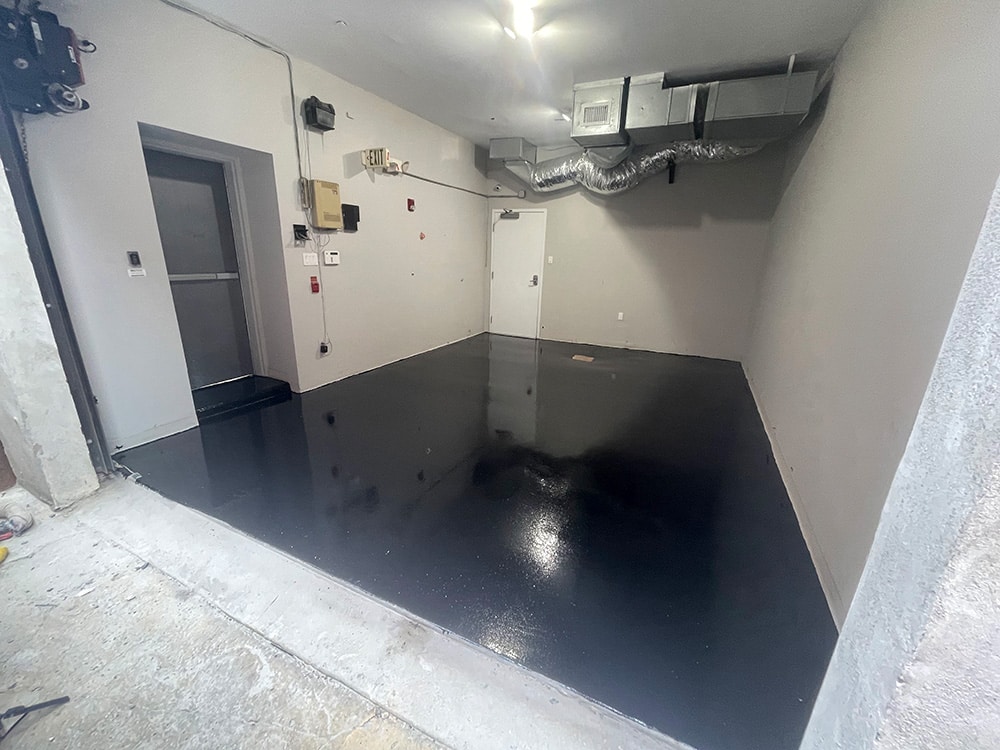
- Clear Topcoat: As a last step in the process, we apply a clear polyaspartic sealer to enhance durability and provide UV protection to the epoxy coating using a squeegee and a roller. This top coat will provide a protective layer. You will want this topcoat to cure before you start using the floor regularly.
- Regular Maintenance: To prolong the life of your epoxy floor, you should regularly clean it. The good news is — epoxy is low maintenance and easy to clean! With proper care, your epoxy floor can remain beautiful and functional for years to come.