Home » Job Profiles » Epoxy Flake Flooring for Garage in Medford, NJ
Giving New Life to Well-Used Garage Floor
If you have a garage – whether it is attached to your home or not – you know that it can easily go from a usable space to a cluttered, worn mess. Out of all the spaces in and around our homes or businesses, garages always get the most wear, tear, and foot traffic. While the concrete in a new garage may have once looked brand new, it only takes a couple of projects, moves, or ‘mechanicing’ before it starts to show its rough life.
That is where epoxy flake flooring in your garage can do wonders!
Resist the Wear and Tear
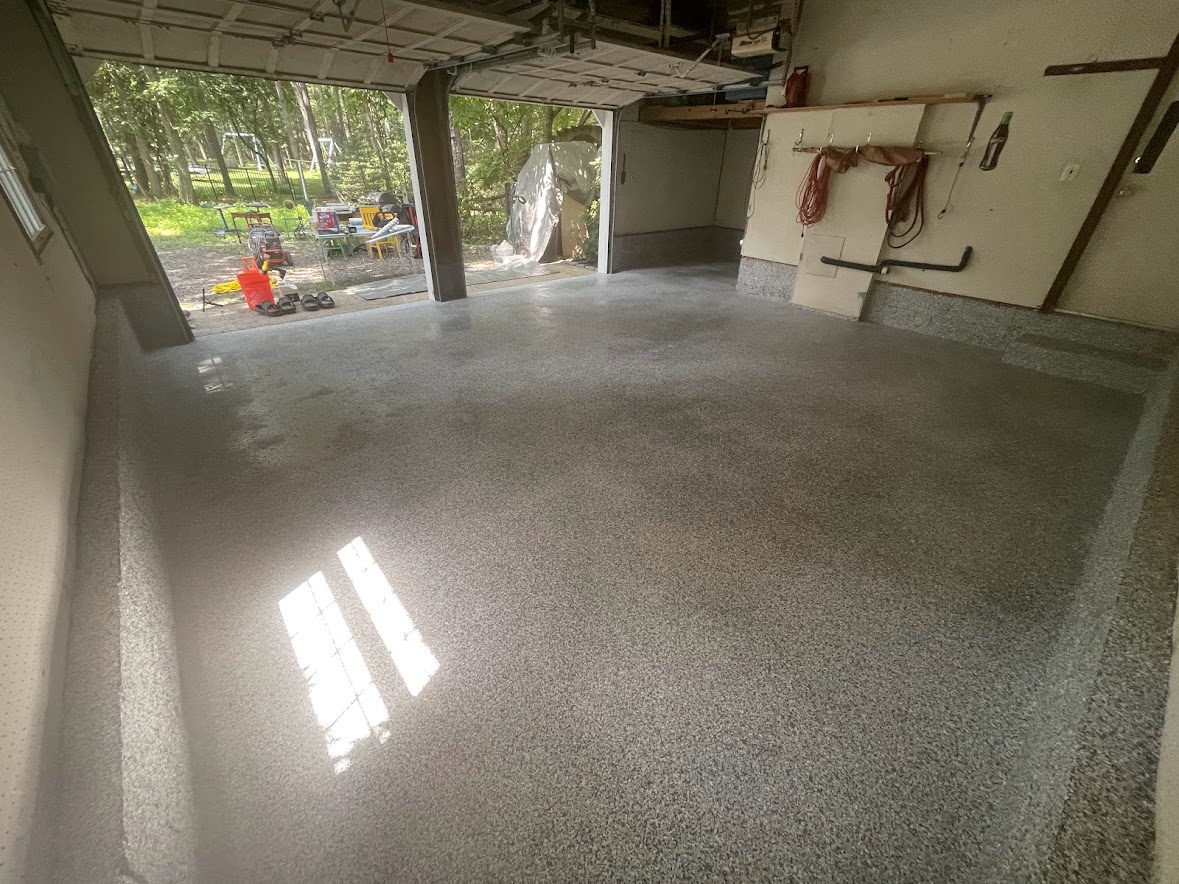
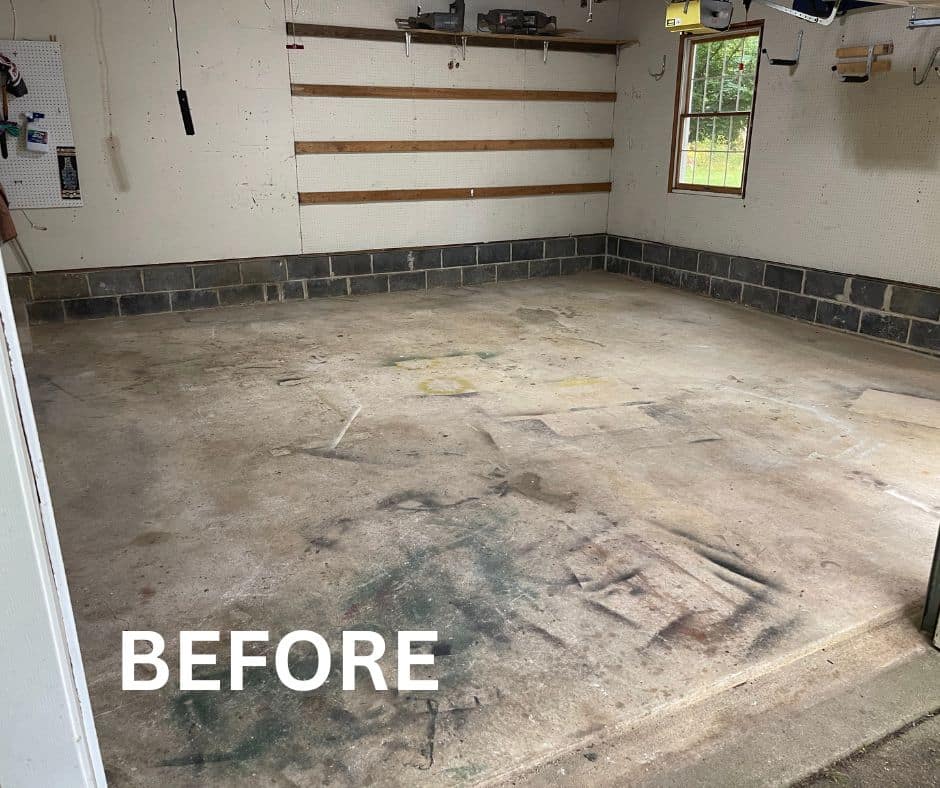
This recent customer of Swayd Epoxy Floors discovered the benefit of having epoxy flooring installed in their garage in Medford, New Jersey. Because they had been storing equipment and vehicles, their garage flooring was in pretty rough shape. The Swayd team jumped in to provide them with a floor they would love and one that would stand up to the work they’d be doing.
Our Process for Installing Epoxy Flake Flooring
We approach every job differently, and while epoxy flake flooring can be a great option for most areas with concrete – our team likes to be able to recommend the best product and process.
Step 1 – Prep
We begin this job in Medford by prepping the concrete. After the initial clean-up (sweeping and removal of larger debris) we roughed up the surface with a diamond grinder so that the epoxy resin and primer would adhere well. We also fix a couple of minor cracks. We made sure to thoroughly clean the area by removing extra particles, dust, and grease (because this was a well-used garage, this step was very important).
Step 2 – Moisture Barrier Application
During the prep work, we measured hardness and moisture levels using Mohs measuring devices. For this garage, we ended up adding a moisture barrier application or concrete primer. This helps the epoxy flakes adhere well and prevent air bubbles once the layers dry.
Step 3 – Epoxy Base Coat
Next, we began the actual epoxy application. We mixed the epoxy resin with the hardener and applied it using a squeegee – ensuring it was laid evenly over the area. We applied the epoxy base coat using a squeegee followed by a roller, spreading it evenly over the surface. We then performed the actual flake application (called broadcasting) by spreading the flakes over the surface.
Our customers were able to customize the look of this epoxy flake flooring for their garage by adding more flakes. When more flakes are broadcasted, the more dense and “rocky” the flooring appears. If a customer isn’t sure how they want to design their flooring, Swayd Epoxy offers a unique visualizer tool that allows you to see different colors/finishes over your space.
Step 4 – Curing and Final Coat
We left the epoxy to sit overnight to allow it to cure properly. The next day, we removed excess flakes and swept the area for a smooth result. Then, we applied the Polyaspartic Top Coat. This product is used to increase the durability and longevity of epoxy flake flooring.
For this customer, we specifically recommended they wait at least 24 hours before placing heavy equipment, tools, or vehicles on the flooring. Since this is a garage, we wanted to give them the best chance of keeping this floor in amazing shape for a very long time.
Upgrade Your Garage
This customer was an excellent example of the amazing transformation a garage can go through when epoxy flake flooring is applied. If you have a garage with a concrete floor that looks damaged, cracked, or just worn out from years of using it (as a garage should be), get in touch with our team today. Let’s give you a floor that can withstand the work you plan to put it through.